Framing is the making of a structure shape by joining together the pieces of blocks. These blocks could be made of wood or steel with studs of bricks and stone veneers. Frame structure resists gravity and different lateral loads. Therefore, you can use this structure in construction to overcome the large resisting forces. Framing consists of wall framing, Lintel, and other sections of the building.
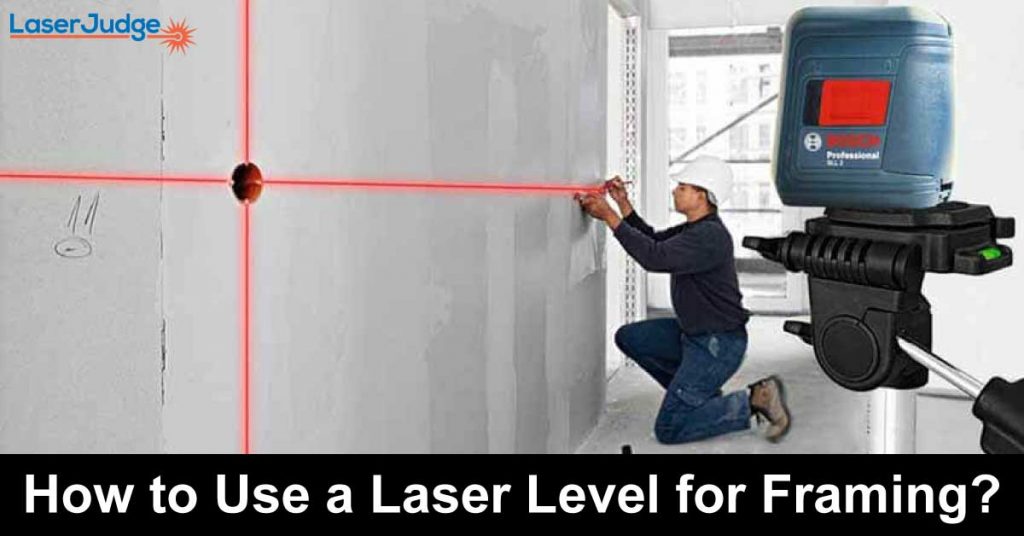
Just like all other construction works, framing too requires accuracy. The use of a laser level provides a well-managed structure and saves the framer from various complications. This article is all about using a laser level for framing. But before we start, let me tell you that any good laser level with high accuracy and mounting bracket can do this job.
Table of Contents
What Framing Includes?

Framing includes cutting wood material by the carpenter and assembling them to form a framework by the framer. You can do both of these things separately or together. Framing is a kind of layout, and the whole building depends on it. Even a small mistake in the layout will make the building imperfect. Also, keep in mind that wood is not the only material you can use in framing.
There are several kinds of framing and different parts for it. These parts are wall framing, lintels, ceiling, and exterior wall framing, etc. I am going to explain only a few of them below.
- Lintel framing: Lintel is a horizontal block that covers the opening of two vertical pillars or supports. The above part of the door or window span is Lintel. Same as lintel framing is creating the layout for the Lintel. For lintel framing, you will need to take both the vertical and horizontal alignments with the help of a laser level.
- Wall framing: Wall framing is the simple framing for the walls. You have to project the laser beam wherever you want your wall to be.
- Ceiling: The ceiling of the frame is constructed with a different method. It is the structure or layout of the roof of the building or property you will construct.
Things You Will Need:
Before going out for framing, make sure to carry out these (below) things with you. I am listing them below.
- Laser level: This is undoubtedly the main thing in your toolbox. You can use a simple green beam laser level for the best result. You can choose the laser level according to your working needs. One more thing, we had a much better framing experience with the self-leveling laser level.
- Marker: You will have to mark the points according to the laser lines. That’s why do not forget to keep a marker in your too box.
- Measuring tape: You may need a measuring tape to measure the distance between laser lines and earth surface and between various points.
- Mounting tool: Framing work requires you to place the laser level at a certain height. You can go with either a tripod or magnetic brackets. Most people use “Magnetic brackets” as these are built-in in many laser levels. You can use this tool to attach the laser level to a metal surface.
Step by Step Procedure:
Follow these steps for framing correctly. Here we go!
Step 1: Place the Laser Level:
First of all, place the tripod (if you have it) at the smooth surface or attach the magnetic pivoting base to any metallic object on the job site. Then, attach the laser level to it. Make sure that the laser level is in the correct position.
Step 2: Level the Device:
Now you have to level the laser level. If your equipment possesses the self-leveling feature, then use it for automat leveling within a few seconds. You can also use the manual leveling method.
Step 3: Find Low and High Spots:
Before going to start the actual work, you need to ensure that the floor is also level. If you have made the foundation by grading earlier, then there is nothing to worry about.
To level the surface, you need to project the horizontal lines all around. Next, you have to measure the distance between laser lines and the floor using the measuring tape. Mark the positions where the laser lines are higher or lower. Then, grade out the surface. Do this step again and again until you are 100 percent sure about its smoothness.
Step 4: Top Wall Plate Location:
Just establish a top plate location for a wall and create a line. Then, you have to follow the line for further measurements to build the wall or Lintel by adding the blocks from the “bottom plate” to the “top plates.”
Step 5: Attaching the Sills:
Now, we need to use Shims between the bottom plate and floor. First, you have to screw the shims tightly. The next step is attacking the sills. If you don’t know, a ground sill is the horizontal member of the bottom plates with whom you have to attach the vertical member. Similarly, you can do the rest of the measurements.
Step 6: Checking Your Work:
You can also check whether your work is precise or not with the help of a laser level. You have to project the laser beam along the wall or ceiling and check that. You can fix it if there is a bent or anything is misshapen. We recommend you to keep the laser level ON throughout the work or keep turning it ON more often.
Conclusion:
Framing is not as simple as it looks, but accurate equipment such as rotary laser level can make it simple and easier. Choosing the best laser level for framing is still the main object you need to focus on.
So, these are the main and basic things about the use of a laser level in framing. We hope this information will be enough to know what framing is and how you can successfully achieve this using a laser level? Don’t forget to leave your honest opinion in the comment section. Have a great day!


