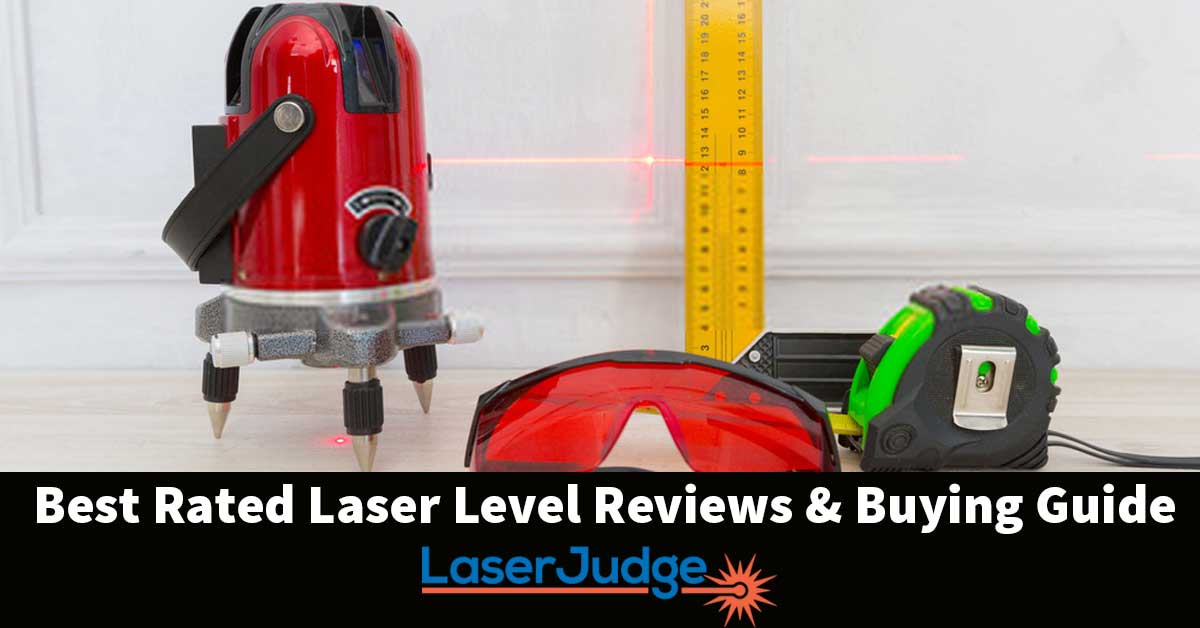
Laser levels are a device that we use to project light (of green or red color) on the surface of horizontal and vertical planes while transferring specific levels from one place to another.
For example, when you need picture rails fitted onto walls; they will be aligned using this tool which projects lasers in different colors into every corner ensuring accuracy at all times!
Check Green Laser:
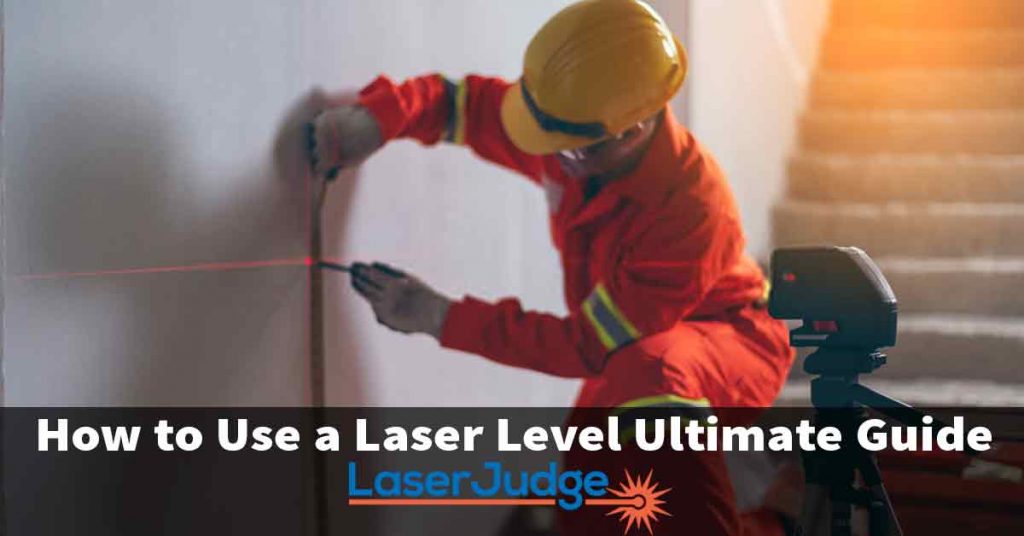
Table of Contents
Basic Information about Laser Level:
Tripod:
The tripod is a simple and effective stand that can hold devices like cameras, mobile phones, or even mice to keep them stable at the specified height. The three legs provide stability as well making sure your device stays in place no matter what!
You are able to adjust this sturdy piece for different angles too so whether you want it closer towards yourself (for example) then just need to turn one leg relative direction than another until they match up – easy peasy!.
Self Leveling laser:
If you’re looking to buy a laser level, then it’s important that the one purchased has self-leveling capabilities. A manual model will take more time than necessary when leveling itself whereas an electric auto-adjusting type can do this automatically for us!
Manual Leveling:
Laser levels can be tricky to use without the self-leveling feature, but don’t worry! There are several ways you could adjust your level. For example all bubbles will have settings on them which need rotating until they reach the center of funding (or wherever it says “center”).
Measuring Rod/Grade Rod:
A grade rod is a tool that allows you to find the difference in elevation between two points. It has graduated markings, just like an ordinary ruler but with extra details on it such as how high or low each number represents compared to another nearby one!
Laser Detector:
Laser levels are a fantastic tool for any project that needs to be elevated. Not only do they make sure your work stays up high, but laser detections can also help you stay on track with what part of the job is currently being worked upon!
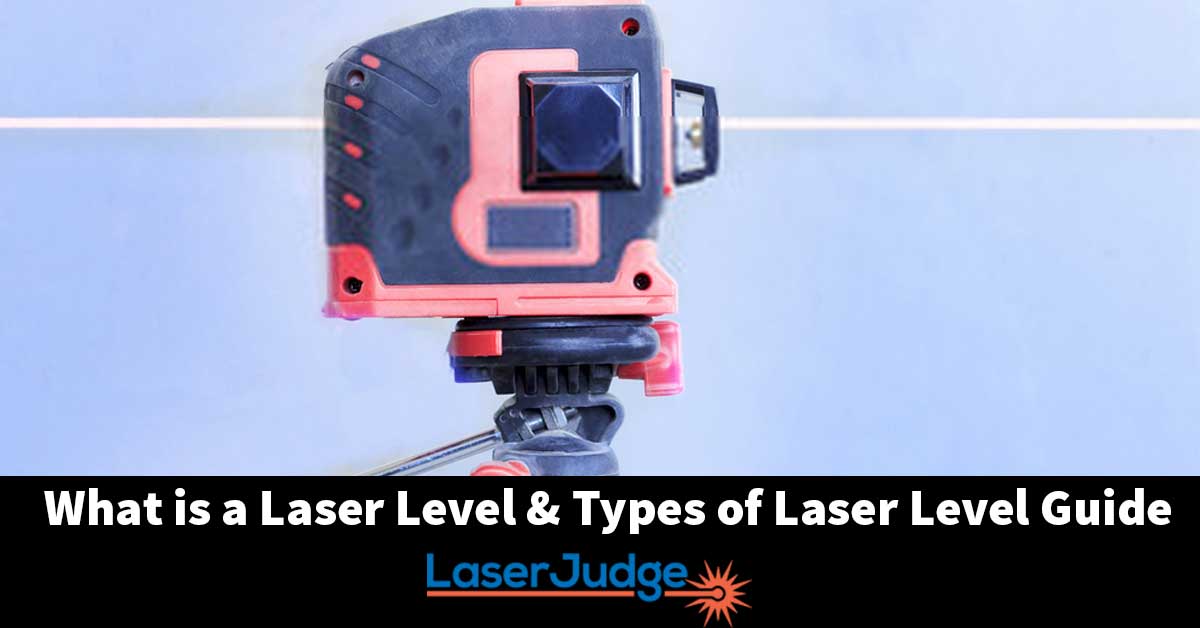
How to Choose a Laser level (Type of laser level):
Before buying a laser level, you should know why you are going to buy it. In addition, you should know what type of work you have to take from it. Here are a few points that you should keep in your mind while buying a laser level.
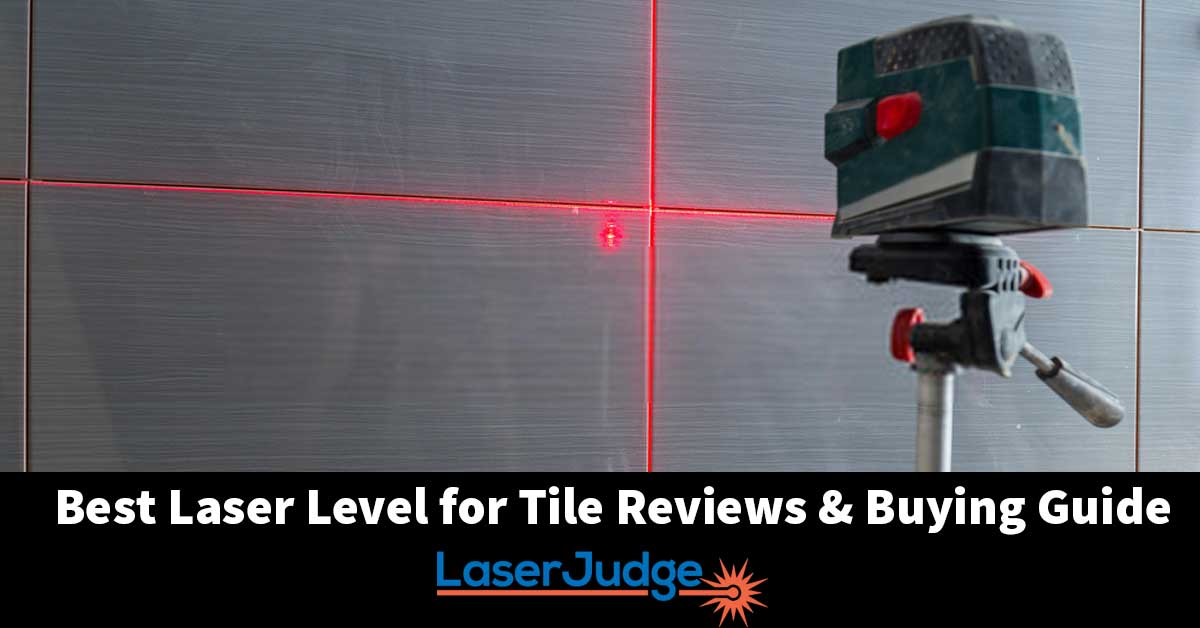
- For Indoor projects, multiple line lasers are preferred for aligning kitchen cabinets and other related works. However, a Square Laser is recommended to observe masonry, E.g., bricks, stone, and other materials used to build walls.
- For Outdoor projects, the rotary laser level is a perfect solution. Being the most advanced laser level, it gives 3d output.
- Also, compare the money that you are going to spend with the accuracy of that laser level. A laser level with an accuracy of 1/10th inch per 100 feet is considered the best laser level. A laser level with a self-leveling feature gives a more accurate result than a laser level having a manual leveling option.
- Rotation per minute (RPM) also matters as a laser level with low RPM has bright but short-range light, which is easy to distinguish. On the other hand, laser light with high RPM has long-range light, but it is quite difficult to distinguish as its light is faint.
- Don’t forget to check whether the laser level you will buy is self-leveled or manual leveled. I prefer self-leveled laser level as it can level itself automatically and has accuracy three times more than manual leveling.
- The type of wall also matters as you can easily use pin lasers for walls with bricks, stone, or other solid material. But avoid using such laser levels in walls with paneling (a wall cover constructed from rigid particles, e.g., plastic).
- Last but not least, a point to keep in mind while choosing a laser level is ‘whether it has red or green light?’ Greenlight is mostly used for indoor works as it is easy to observe. However, red light is used for outdoor projects because a laser receiver or laser detector can easily detect it. This color difference is due to a difference in wavelength.
How to Use a Laser level: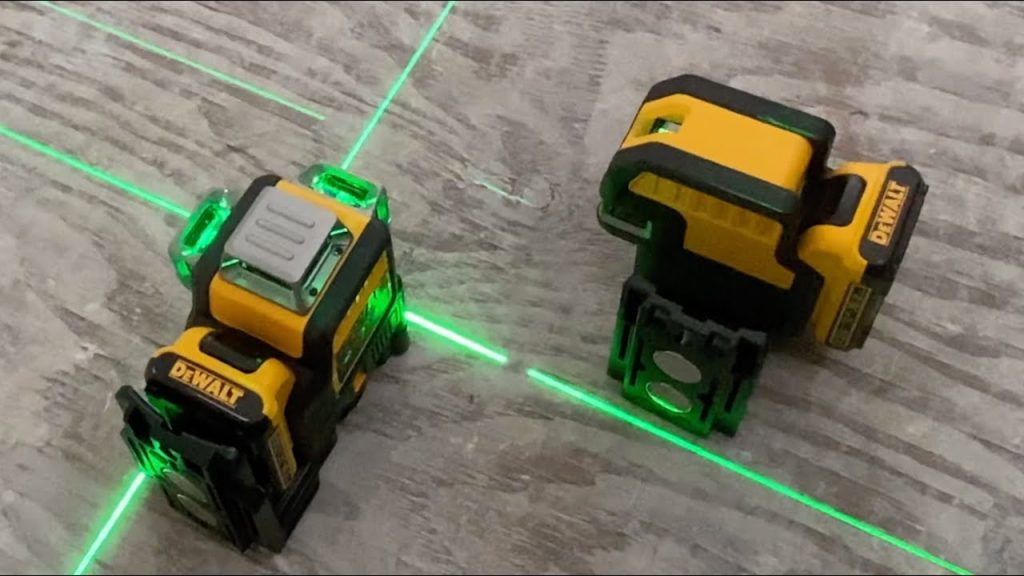
The method of using a simple Laser is listed below.
- First of all, we have to set up on Tripod or surface. Tripod is used to take laser level as the maximum height.
- Then set the laser and turn the laser level ‘ON’. If you are using a laser level with a self leveling laser model, it will be self-leveled automatically. Otherwise, you have to adjust it by using screws near the bubble vial.
- The laser level will release/emit a laser showing level on the wall or any other medium.
- In a case when there is no medium to show the projected laser, a laser detector is used. (Laser detector is a device used to find the distance of objects present within the laser range. It is mostly used by traffic enforcement to find the speed of objects).
- For this purpose, you have to connect the laser detector to the measuring rod. You have to adjust the detector and have to fix it.
How to use a laser level for Grading:
Grading is the work of ensuring a level base for construction work. The term Proper Grading is used for a process that helps restrict water flow toward your project site. The grading process is also used to improve the Drainage of your existing building or house. A rotary laser level, tripod, measuring rod, and laser detector is required for Grading.
- Set up a laser level on a tripod.
- Turn ‘ON’ the laser level. Wait for some time so that the laser level is self-leveled. But if you are not using a laser level self-leveling model, you will require manual leveling. You can do this by adjusting screws.
- Now place the measuring or grade rod at your desired height.
- Adjust the ‘Laser detector’ by moving up and down until you hear a beep from it.
- Use laser detector to detect laser beam.
- Move the measuring rod at different positions on the ground to check whether it is above or below the desired point.
How to Use a Laser level for Drainage:
Drainage is the process of removing surface water artificially. This method is used in areas with an excess of water. You can also use it to remove water from the sub-surface. This method keeps your house safe from water and restricts the water flowing around your property. Here is the method of using a laser level for Drainage given below.
- Set up the laser level on a tripod and place it on a flat surface.
- Turn the laser level ‘ON.’
- If the laser level model is self-leveling, it will take some time to self-level itself. While if the model doesn’t support self-leveling, you have to adjust screws for manual leveling.
- Now place the measuring rod at the desired height.
- Don’t forget to mark drainage projects boundary with stakes, e.g., wooden stakes.
- Now take readings using a laser level. You have to make necessary changes to establish the direction and inclination of your project.
- Depending on the above measurements, you can cut or fill the area and require a laser level with slop.
How to Use a Laser level for Outdoors:
You can also use a laser level for outdoor work. The main problem while using it outside is that the laser beam is too faint to see naked eyes. To use a laser level outdoor, you must use tinted glasses or goggle as it is difficult to observe light with naked eyes. You will find tinted glasses with a laser level kit. As you cannot place laser level on bumpy ground, you have to use a tripod for this purpose.
The laser receiver is also required to be at fix position. You can use another tripod for this. Here is the method of using a laser level for outdoor work given below.
- Place the laser level on a tripod. You don’t need to use a tripod if you have flat ground or any similar surface.
- Now turn the laser level ‘ON.’ Could you wait for a moment until it is leveled? If you are not using laser level with a self-leveling cross-line, level it manually by adjusting screws. You will find these screws near the bubble vial.
- Aim the laser level to find an area for reading or the area you want to take reading and lock the position on the tripod after finding the target.
- Move ‘laser receiver’ to the targeted position, the position of which you want to take a reading.
- Use another tripod to set up a ‘laser receiver’ on it. You can place anything using a magnet bar if you don’t want to use a second tripod.
- Move the receiver slowly until it catches the beam emitting from laser level. Now lock the position on the tripod.
How to Use a Laser Level to Level Ground:
Leveling a ground is the most important part of the construction. Whenever a ground is selected for the project, it is first leveled. Mostly we use rotary laser for this purpose. Before starting, you must be sure that you have a laser level, tripod, grade rod, and laser detector. However, a laser detector is not compulsory for indoor work. So here we go.
- First of all, Place the laser level on a tripod.
- Turn the laser level ‘ON.’
- Please wait for a moment until it is self-leveled or go through the manual leveling option.
- Target any point on the ground.
- Place the measuring rod at that point after adjusting it with a ‘laser detector.’ Make sure that the bottom of the measuring rod is touching that point of the surface.
- Now adjust the rod by moving it up and down until you hear ‘Beep’ from it, then tight the laser detector with it.
- Find the actual height on the detector at which the laser is interrupted—Mark that point.
- Repeat this again and again by changing targeted positions. If all the positions are giving the same measurement, it means the ground is leveled.
How to use a rotary laser level:
A rotary laser level is the most advanced laser level. It spins a beam of light faster than any other, due to which it gives a 360-degree display. The dual-slope is used in rotary laser level, which makes it 3d. It projects light both on X-axis and Y-axis. Rotary laser has accuracy ranges from 1/16th to 1/8th part of an inch per 100 to 50 feet. You can use this device by following my steps.
- Set up rotary laser level on a tripod or flat surface.
- Place the laser level on the targeted surface and turn it on.
- It will be leveled automatically if the device has a self-leveling model; otherwise, you will require manual leveling.
- Use a laser receiver to observe the beam.
- Like the above methods, you have to wait for a beep from the receiver, ensuring it is connected with a laser.
- Now aim the rotary level at any surface.
Conclusion:
Though all laser levels have different methods, these methods aren’t much different from each other. So if you already know How to Use a Laser Level, you don’t need to be panic while thinking about the above methods.
Keep in mind that the laser level kit also includes a tripod, grade rod, laser receiver, and tinted glasses. Without these particles, it is difficult for you to use a laser level. If you didn’t find any particles, don’t forget to buy them from the market. If you have any queries, feel free to contact us. We are here to help and satisfy you.
Read More: