A rotary laser level is the only option to project 360-degree vertical or horizontal laser beams around the site. This laser level is beneficial for both indoor and outdoor tasks. You may need a laser detector for outdoor projection as it is difficult to observe the laser lines with naked eyes, especially when these are red.
The rotary laser level is the latest type of laser level equipped with modern technologies and features. It is best for professional-level commercial projects, but with time, its household use is also increasing. This article is about the rotary laser level, its use in various applications and types, etc.
Read: Best Rotary Laser Level For Grading
Table of Contents
How Does it Work?
Unlike traditional laser levels, a rotary laser level rotates the laser beam too fast that it starts appearing in a 360-degree chalk line. The spinning speed varies between 100 and 1000 RPM (Rotation per Minute). As a result, you can project both the vertical and horizontal lines depending on the job requirement.
Most of the rotary laser levels have a long working range, but it is not necessary. It could have a normal range which is best for only indoor tasks. You will be able to handle all sorts of alignments from floor to ceiling, hanging objects, to other household works at a time. In the case of outdoor projection, you will need a laser receiver.
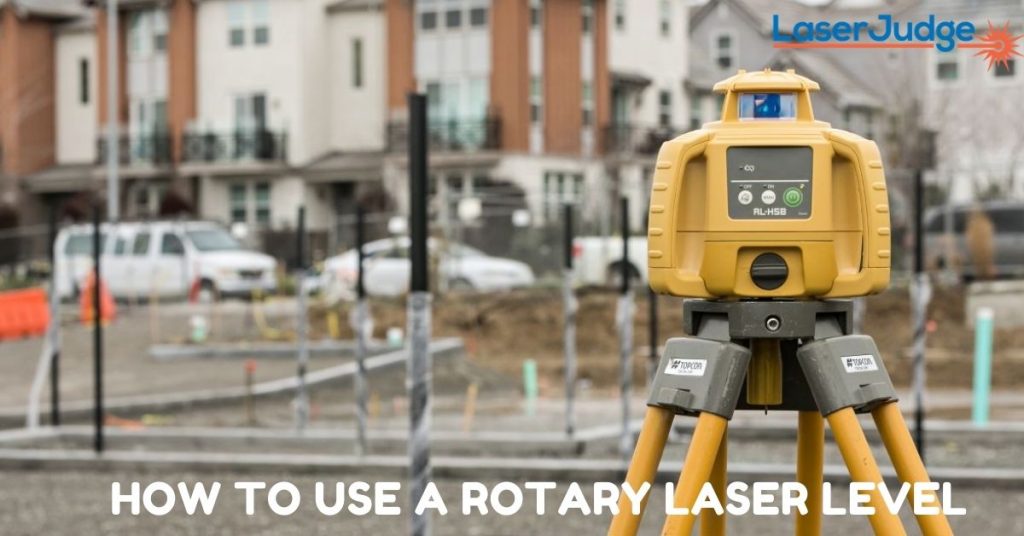
How to Use a Rotary Laser Level Outdoor?
You can use a rotary laser level for various purposes. However, you will need to follow different procedures for different applications. Here is a simple guide for using the rotary laser level outside.
Things You Will Need:
- Rotary laser level: You need to select the rotary laser level with a long working range. A green beam laser level will probably be the best. Make sure that your equipment can project the laser line of the required length.
- Tripod: Tripod is a necessary tool, especially for outdoor jobs where other mounting methods are unsuitable. An adjustable tripod with a maximum height of up to 5 feet will be excellent.
- Laser detector: It is a must-have tool for outdoor activities. A laser detector not only detects invisible laser lines but also works perfectly at long distances.
Step By Step Procedure:
Step 1: Place the Tripod:
First of all, we have to place the tripod in a suitable position. Then, situate it at a dry and smooth location so that it remains immovable.
Step 2: Attach the Rotary Laser Level to it:
Now install the laser level to the tripod. Make sure to screw it up tightly. Next, turn the laser level ON by pressing the power button.
Step 3: Level the Laser Level:
If your rotary laser level supports self-leveling or electronic self-leveling, then avail the feature to level the rotary laser level within a couple of seconds. Otherwise, you will need to level your equipment manually. Manual leveling is also suitable for projecting the laser line by rotating the device up to 4 degrees.
Step 4: Set up the Laser Receiver:
You may need a Grade rode or another tripod for setting up the laser receiver. You have to move the laser receiver up and down to locate the laser line. The beep sound will indicate the laser’s detection, and you have to secure it there.
Step 5: Take Alignments:
Now you can project the laser line aiming at the different locations. You can take different alignments needed for your work.
How to Use a Rotary Laser Level Indoor?
A rotary laser level is mostly used outdoor, but it is not the main purpose of a rotary laser level. Its indoor use has also been awesome. The best thing about its indoor use is that you can cover the entire room (horizontal + vertical) at a time with a 360-degree projection. Thus, it increases productivity and efficiency in home decoration, arrangement, stripe painting, and other such jobs.
You can also go with an average range red beam rotary laser for indoor use because the laser beam is invisible, so there is no need for a laser receiver or detector. You will only need a rotary laser level and a mounting tool, probably a tripod. So here we go.
Step 1: Find a Location:
Find a location which you think is perfect according to the job needs. Place the tripod there or attach the magnetic pivoting base with a steel object.
Step 2: Setting up the Laser Level:
Set up your rotary laser level with the tripod. Turn the laser level ON for further procedure.
Step 3: Leveling:
Use the manual leveling or self-leveling (if available) feature to level the laser level. In self-leveling, it may show an error if the angle of the laser level is above 4 degrees.
Step 4: Project the Beam:
Now, you can project the laser lines according to your requirements. For example, some rotary laser levels allow only horizontal or vertical projection, some allow both, and some even have more project options. Again, you can choose this from the control panel.
Step 5: Take Alignments:
The final step is to start your actual job with the help of projected laser lines. You can change the laser level’s position but don’t forget to level it again.
Conclusion:
Whether you have to perform indoor tasks or outdoor jobs, a rotary laser level is the all-in-one package for you. As discussed above, a rotary laser level has no competition when it comes to advancing its technology. We hope this article briefly explains the rotary laser level and its use. But if you still have any confusion, let us know.